Getting started on our Website 🎉 😃
Tati Blockchain Official website has integrated Ethereum smart contracts in the Ethereum Network. We are getting the smart contract data directly from the Blockchain without a middle database or buffer zone. We are utilizing blockchain interface injected in to modern browsers like Google Chrome or Mist. This simplifies the development process and enables you to interact directly with the blockchain.
In order for the interface to work, you need to access the website from a blockchain interface supporting browser, we recommend Google chrome with MetaMask extension enabled. See how to install and enable MetaMask below.
Step 1 - Download Google Chrome
Go to your browser and google "download and install google chrome"
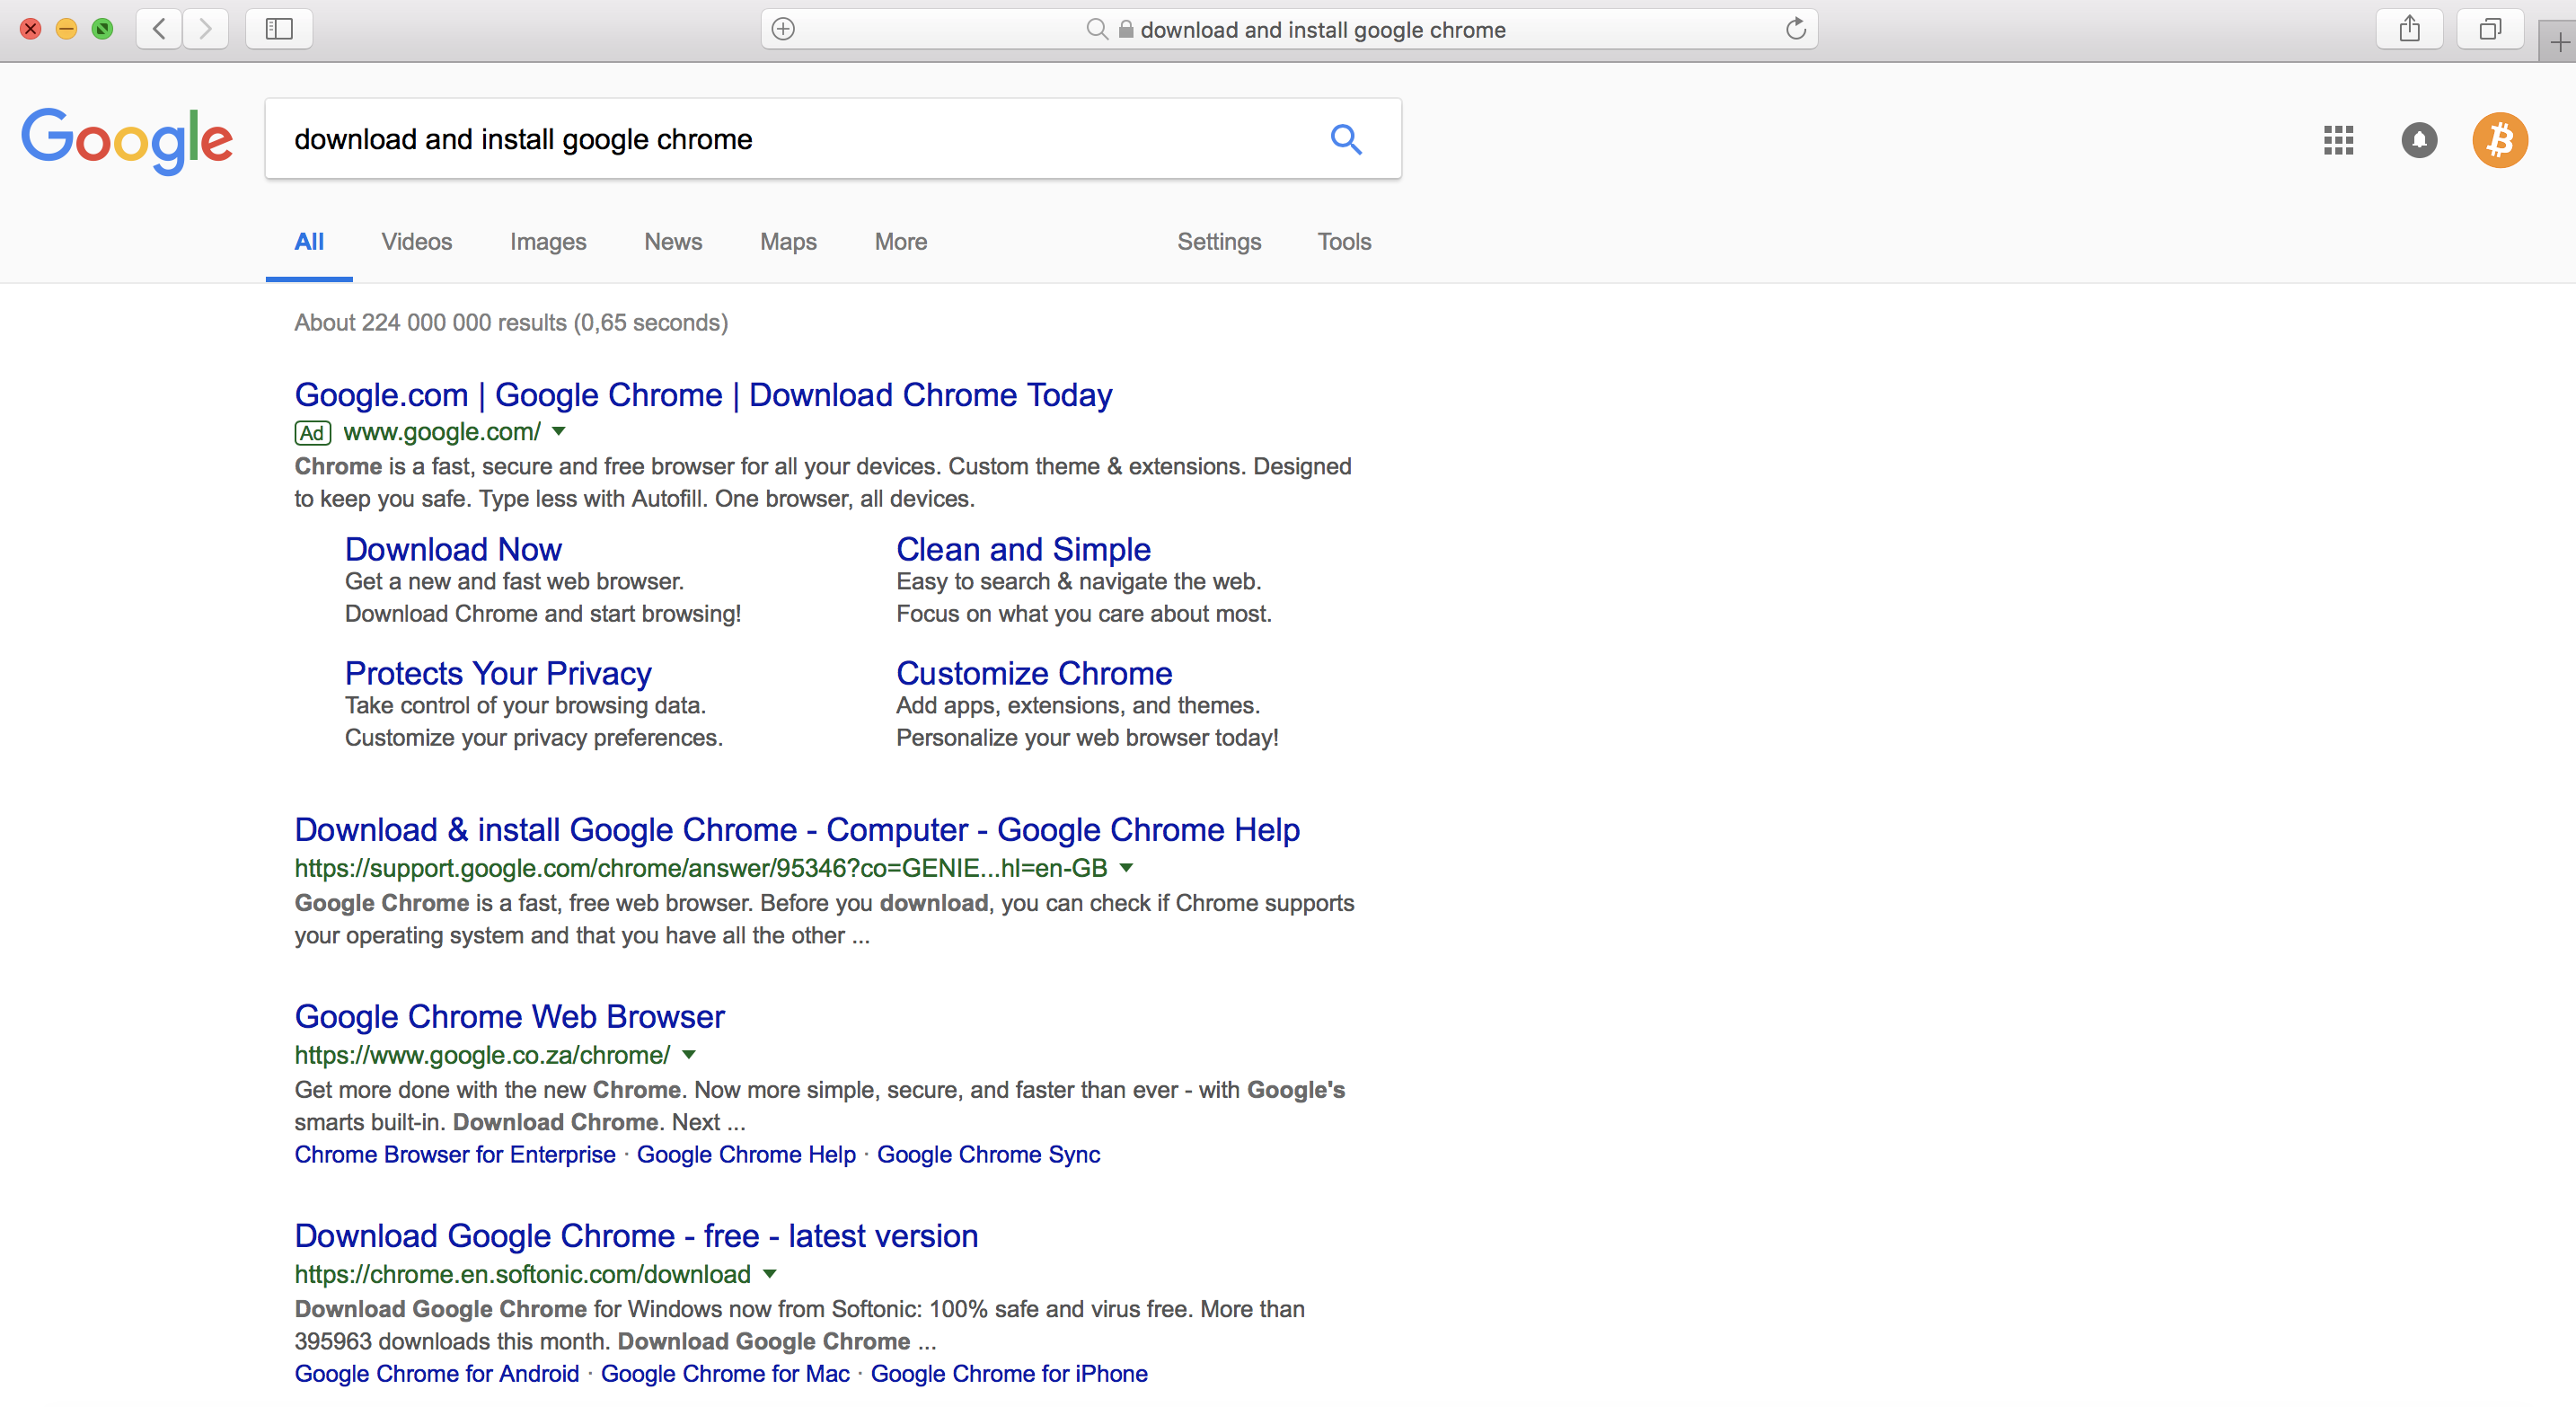
The first link shown in this image above is the correct one. Go to this link and download Google Chrome. MetaMask currently only works with Google Chrome.
Step 2 - Download Meta Mask Plugin
Meta mask is an application that runs on Google Chrome, it is a plugin on the browser. It allows you to create an Ethereum Wallet with your own private keys that lives on the Browser, allowing for easy interaction with other browser-based web-applications such as "cryptokitties" and our smart contracts.
It can do this because, is has an Ethereum API auto-injected in to the browser, connecting directly to the Ethereum Blockchain. Meaning we can create and sign Ethereum transactions directly from our browser.
Meta mask has the standard wallet security features: It does not store your private keys, you have too write them down for safe-keeping and if you lose them, there is no way to recover them.
The convenience it offers is the ability to interact with many browser based - Web-Decentralized-Applications.
Search for MetaMask
Google "MetaMask Chrome Webstore" using the Chrome browser you just downloaded and click on the relevant link
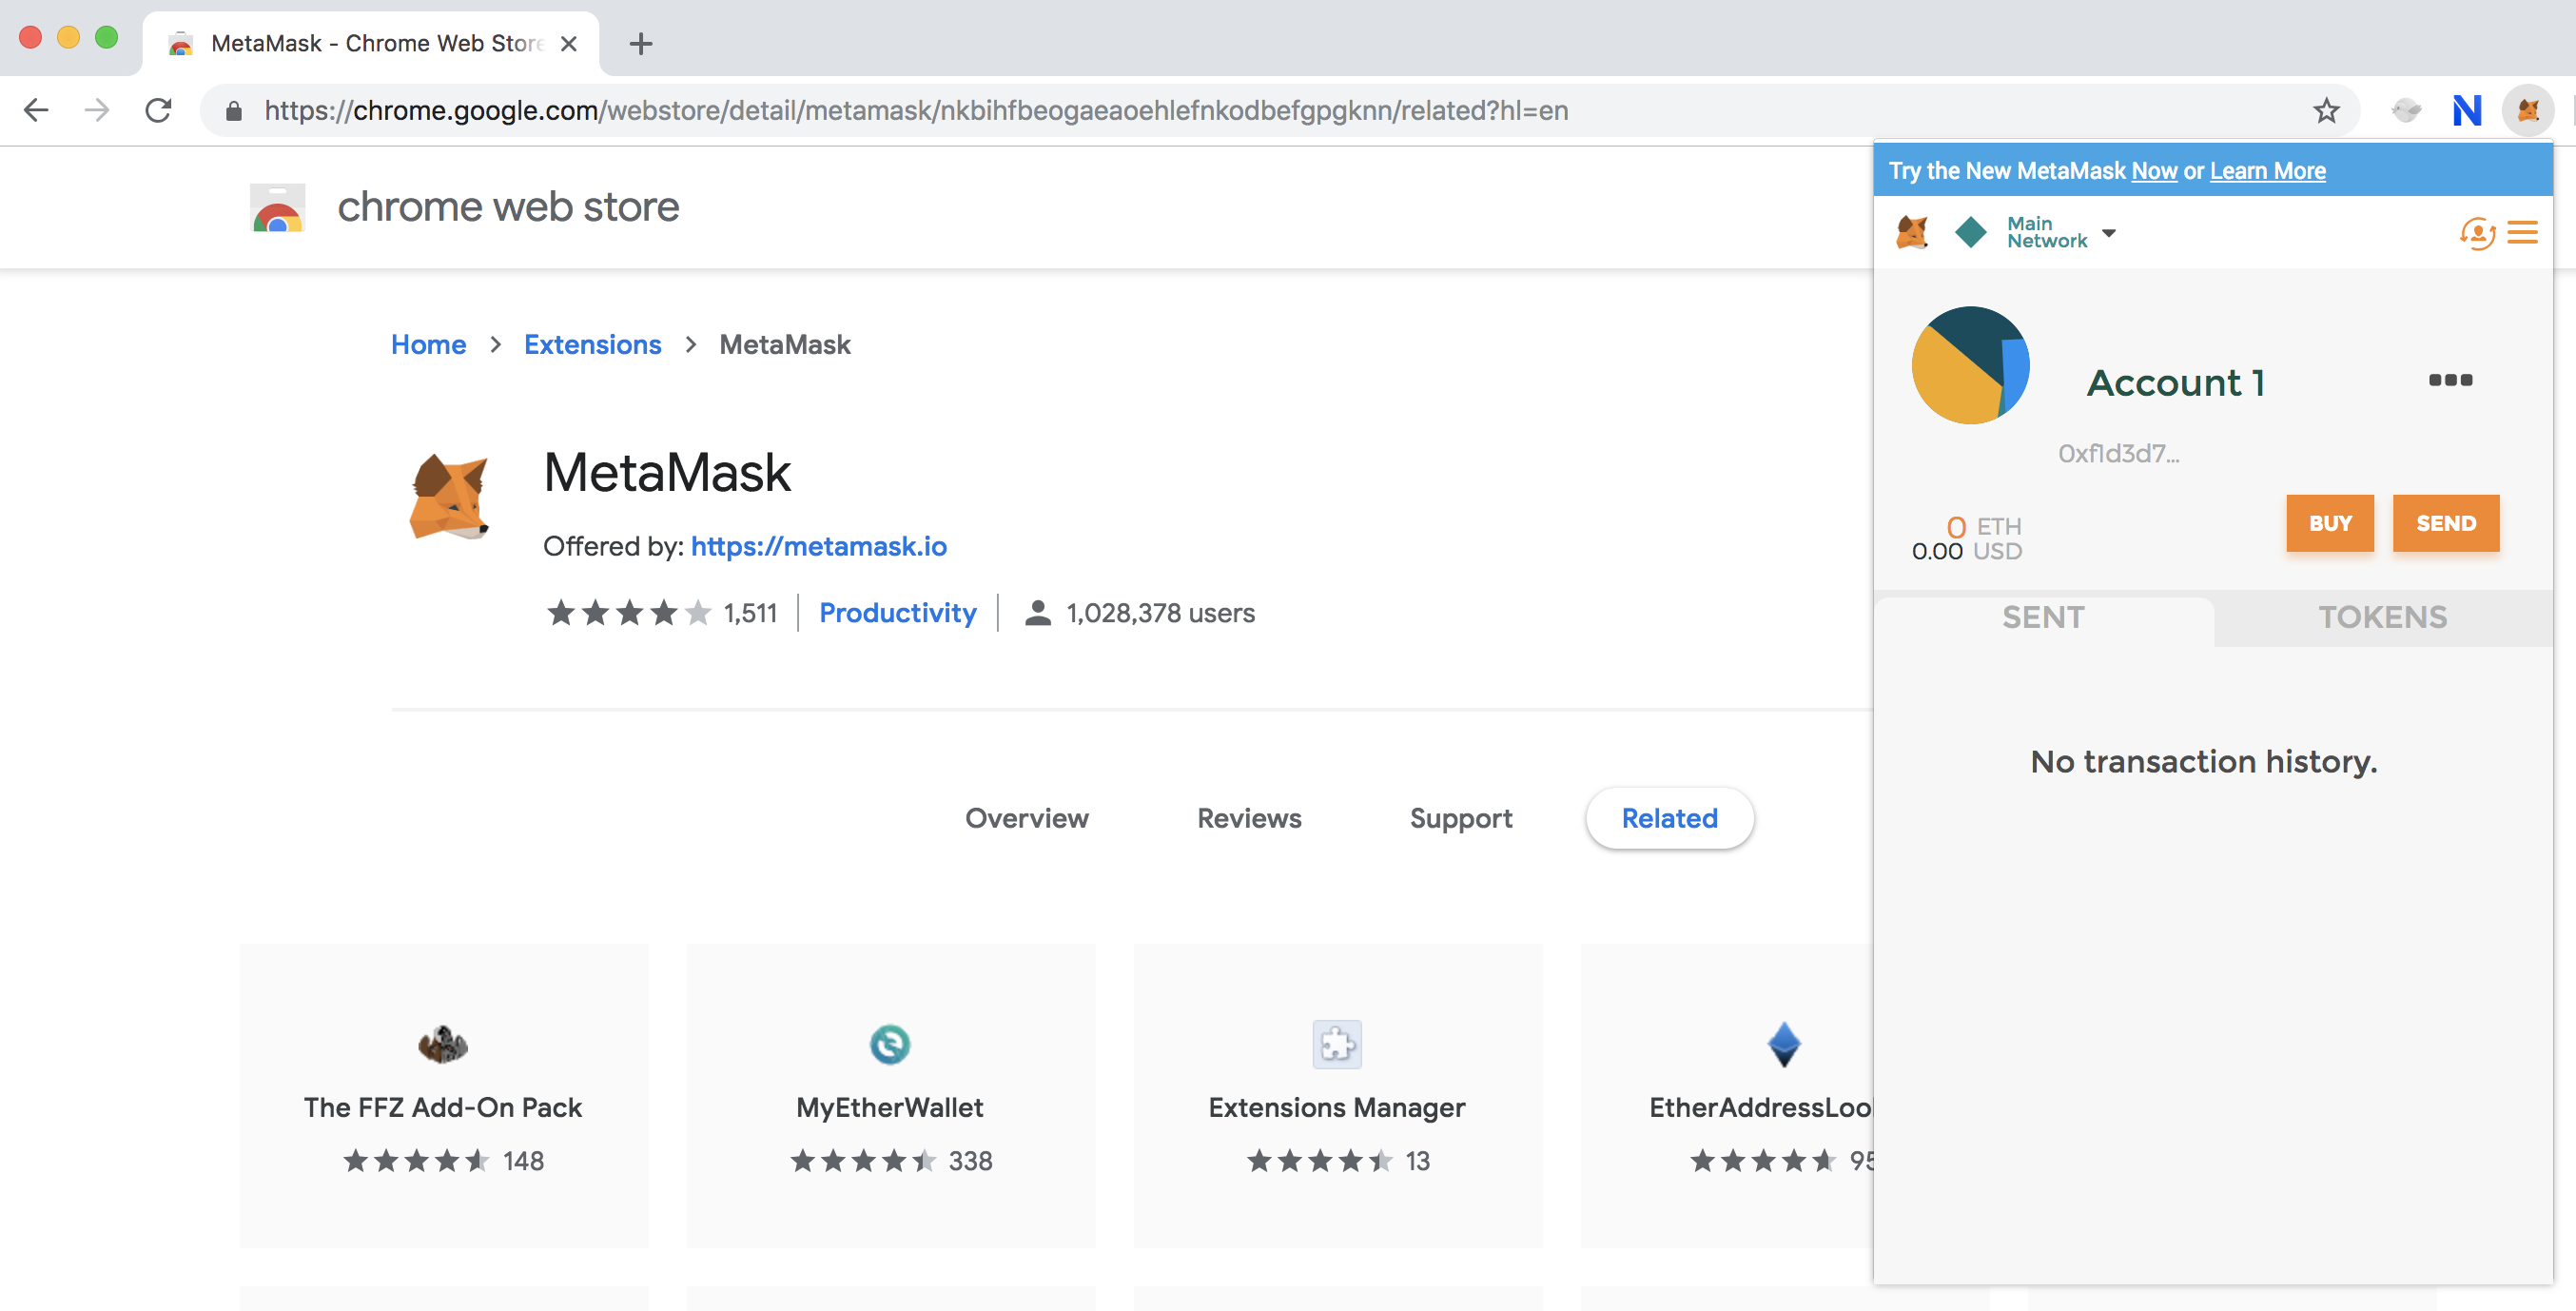
You should see a page like this below
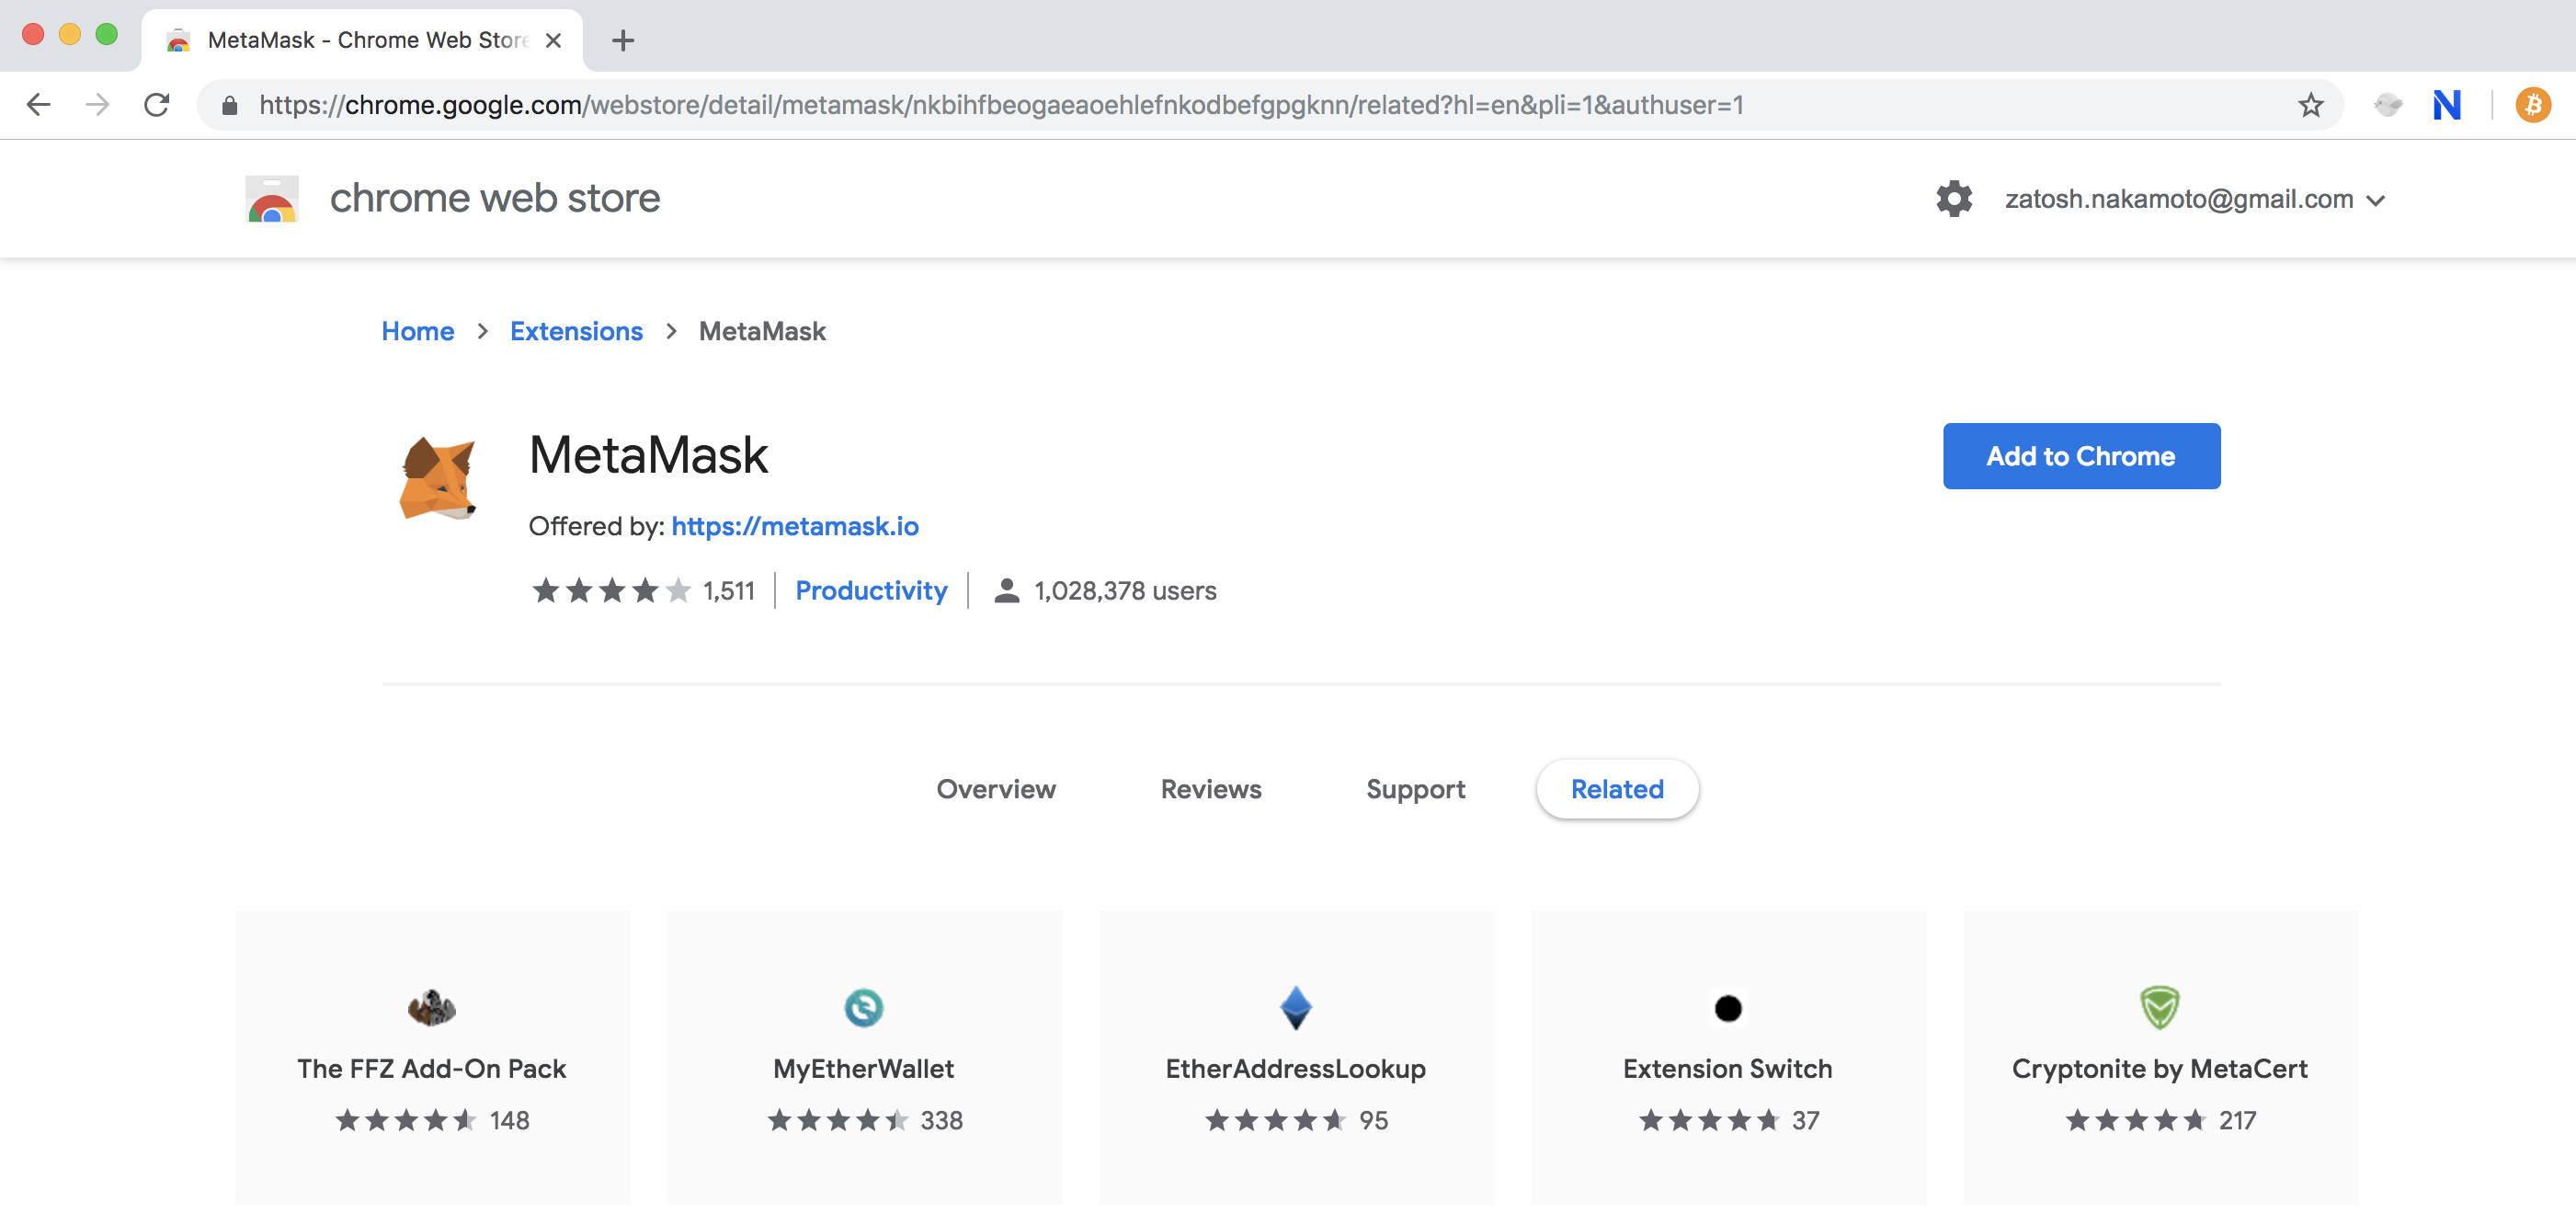
Install MetaMask - Add to Chrome
Once you have installed MetaMask successfully (you might need to restart your browser) - you will see a little fox image appear at the top-left corner of your Chrome Browser like below: Click on the fox icon.
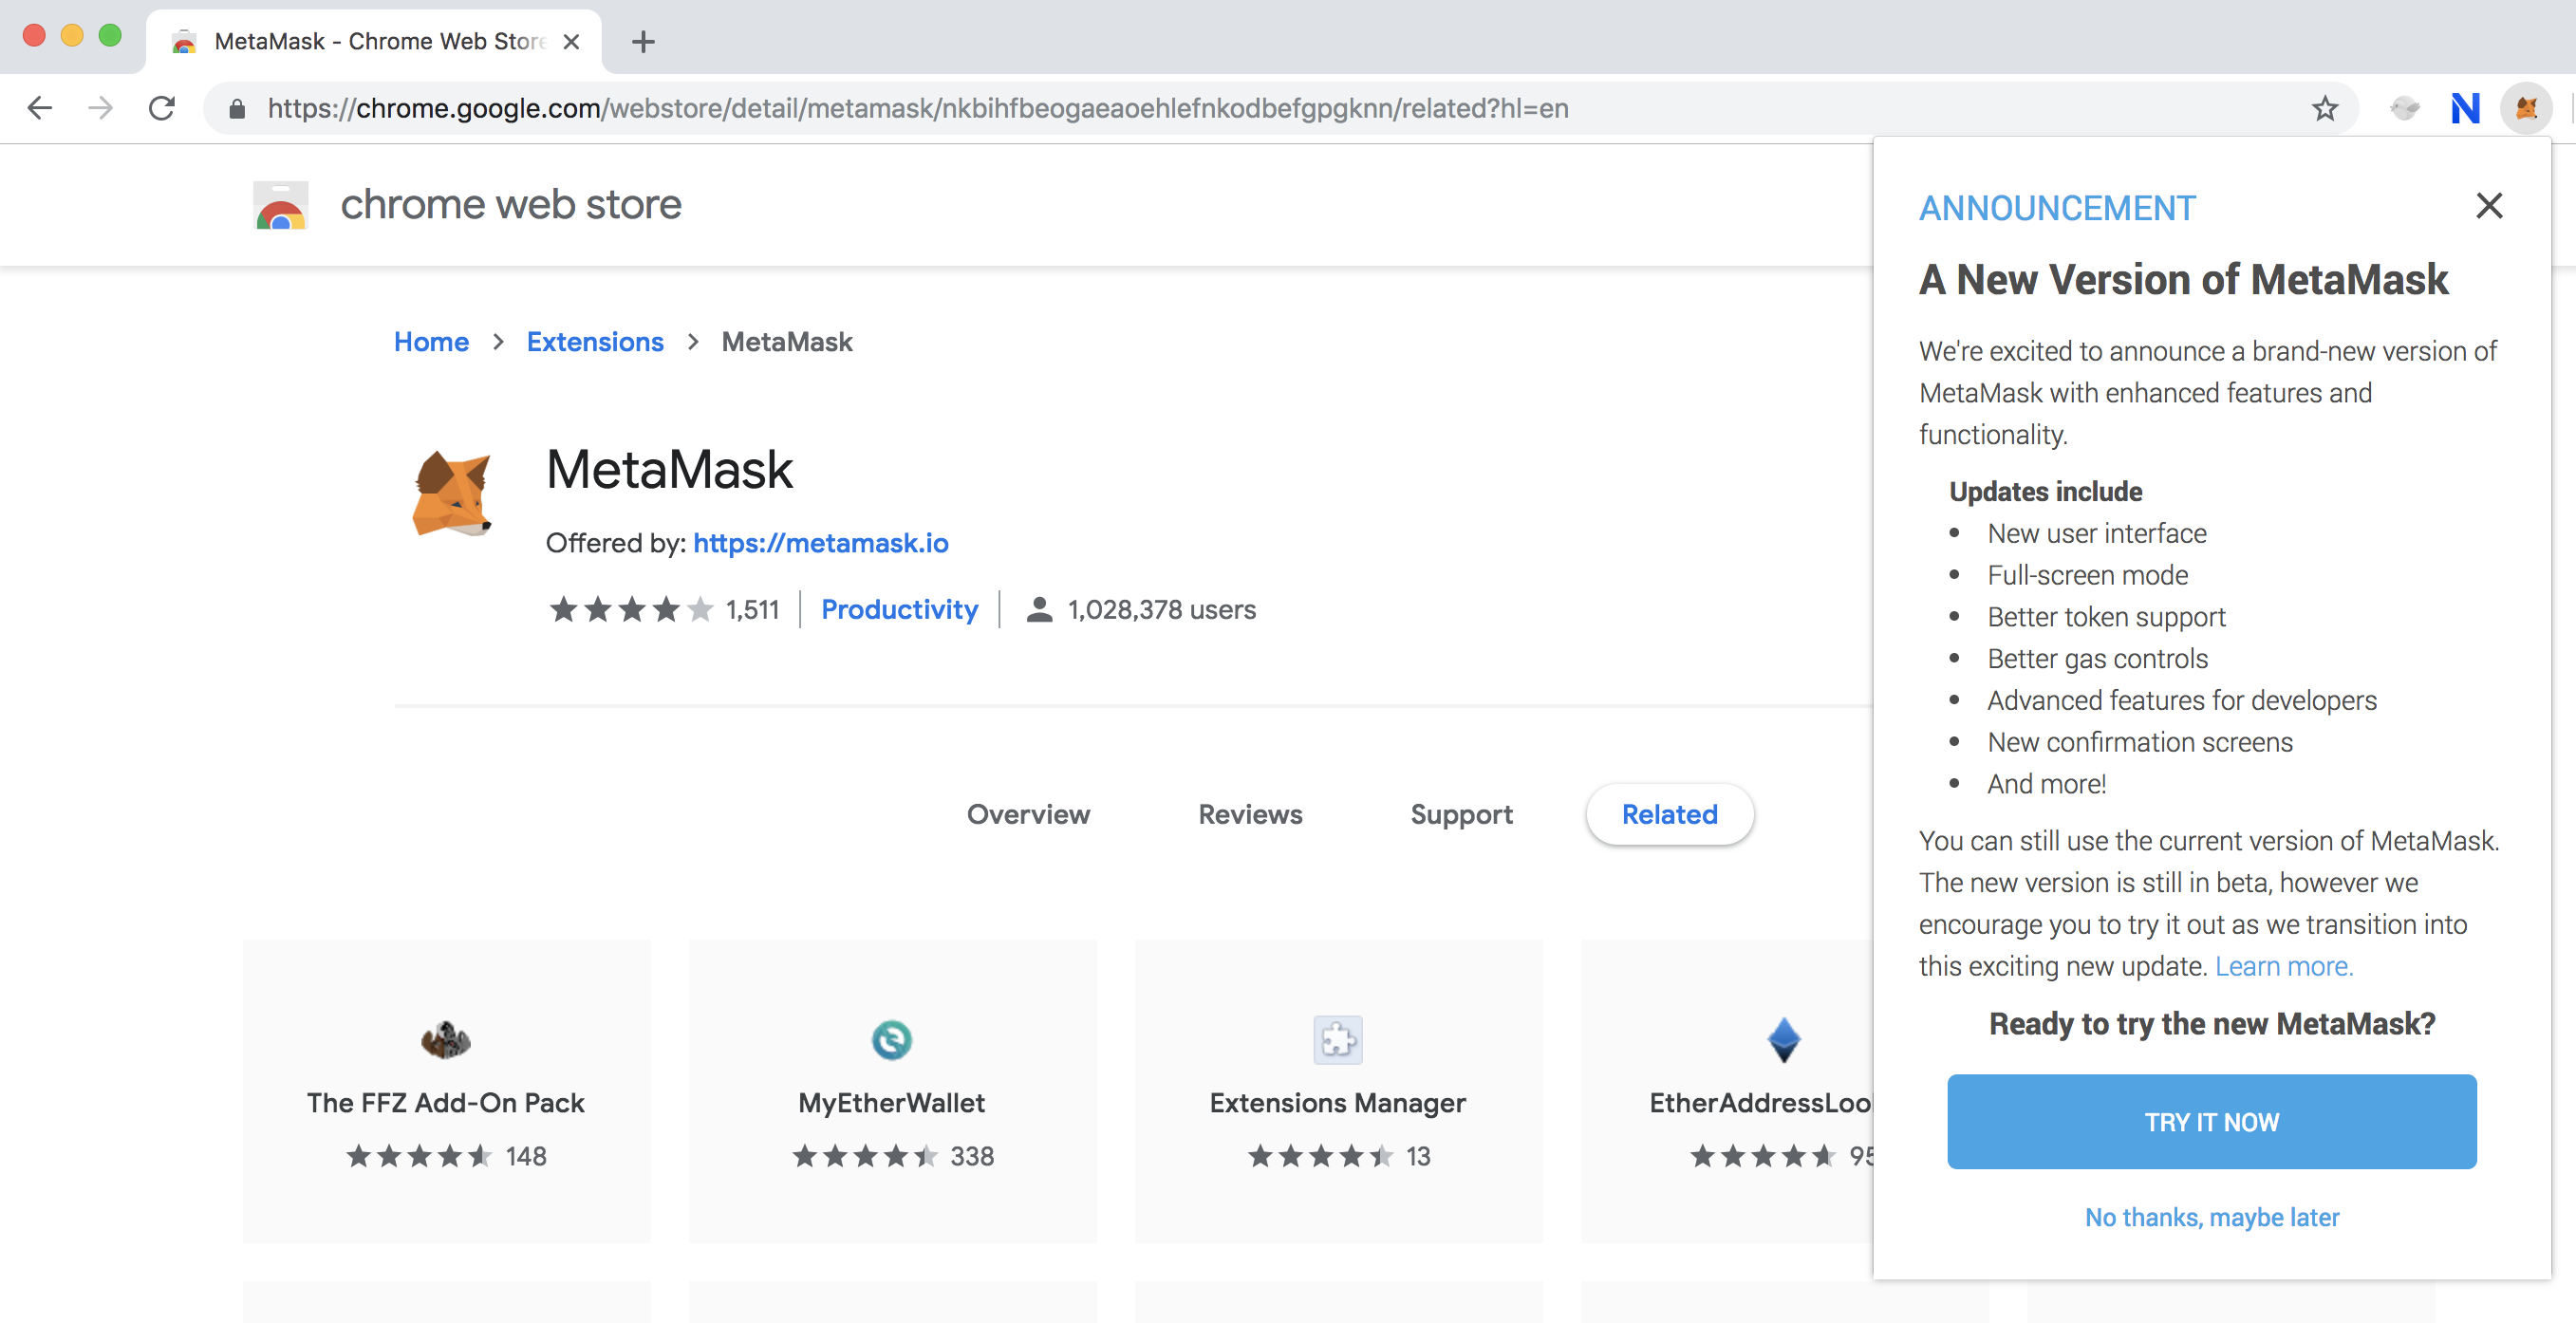
- You have an option of trying the new MetaMask or using the old version. For the purposes of this tutorial, skip the option and click on "try later". You can revisit this at a later stage and use the full screen version.
- Accept the terms and conditions - after reading them of course 👍 You have to get to the bottom of the page to accept.
- Create a new DEN by entering a password and verifying it. This is very important, Ethereum is real money, use a random hex number that is not easy to guess, write it down and do not save it on your computer.
- You will then be shown your 12 word seed - Write it down somewhere safe and click next. Pay careful attention to the spelling of the words, if you need to re-install meta-mask on a different browser or you upgrade your operating system, you will need this key phrase in addition to the password. You can use this phrase on any other Ethereum wallet, not just MetaMask.
WARNING
The 12 word phrase is like your bank account pin - do not share it with anyone and do not lose it. You will lose your funds if you lose your key. If someone finds your key - they can empty your wallet.
MetaMask Options
- At the top left corner you can select which Ethereum Network you want to work with. Main Ethereum Network is the first option on the list, automatically selected when you first download MetaMask. This is the option you should select when you want to interact with our Smart Contract Blogs. You have other options - Ropsten, Kovan and Rinkeby Test Networks. In order to interact with our Demo-ICO you need to select the Rinkeby Test Network. The other ones are not utilized on our website.
TIP
You have now successfully installed MetaMask and can interact with any web-application based on Ethereum Network. Congratulations 🎉
Step 3 - Get Test Ether
Now that you have your MetaMask wallet, you will need free ether in order to test your contracts, or interact with the contracts on our website. By free ether, i mean ether on the Test Networks, not real Ether. Test networks are designed to help you run code and test systems without the risk of losing real money.
Free Test Ether is dispensed by faucets, in order to get Rinkeby test Ether (Which is the Ether we use on ICO-Demo), go to the Rinkeby Faucet and ask for free ether.
The fastest way to do it, is
- Copy your Ethereum address (Rinkeby Address from MetaMask)
- Log in to your Google Plus page
- Paste your Ether address on a new status
- Copy the link where the status is posted
- Paste the link on the Faucet page, and request Free Ether
- You should get it sent to you immediately
Get Real Ether
Real Ether can be purchased from any Ethereum Exchange, first you would need your local Exchange to change FIAT Currency in to Bitcoins, then you would need to change those Bitcoins in to Ethereum. There are some Exchanges that will allow you to purchase Ether, directly using FIAT currency.
Follow these steps:
- Go to a centralized exchange and purchase Bitcoins
- Go to a decentralized exchange and purchase Ether
- Send the Ether to your MetaMask wallet
- Now you can use the Ether as you need